Monday 28 July 2014

BACK IN THE BOX

With the excitement of fitting my new steering wheel over, it was back to the electric box to finish making the connections. I started with the single cable from the oil pressure switch, I first slipped protective sheath over the full length of the wire and then a piece of heat shrink before I soldered the two wires together, the heat shrink was then slid over the joint and shrunk with a hot air gun.


The same treatment was given to the two cables from the brake warning light switch and finally to the three wires from the voltage regulator. I used plastic, split, corrugated sleeving to protect this run, in the photo you can see the three wires protuding through the sleeving, after I slid the short lengths of heat shrink over the joins and shrunk them, I tucked the cables back into the corrugated sleeve and job done. I have to admit it doesn't look quite as orderly as I would have liked, but I am happy that all the connections are secure and any way, it will only be me peering into the box and scratching my head when the engine won't start.


The last photo shows the finished box. just got to screw the lid down. My little gas soldering iron, on left of photo has proved itself more than man enough for this job and it's great not to have a trailing cable getting in the way, also it means I don't have to run my generator, until I need to use the hot air gun.

Saturday 26 July 2014

ONE WHEEL ON MY WAGON

I abandoned the electric box when UPS arrived with a package. I had had an email to advise me that a delivery from Moto Lita was on its way, bang on time at just over four weeks from confirming the order.

My first fear was, had my B&G quick release boss been included in the package and of course it had. The four spoke wheel was superb and the screw holes matched those in the top half of the quick release boss, the finishing touch was the 'Morgan' engraved central boss that would cover the screw  heads.


Something was wrong though, the hole in the boss wasn't splined and just wobbled about on the end of the steering column, a call to B&G racing told me that 'I needed a hub fitting kit' silly me!, but I was stumped when I was asked what car it was for, I told him I would call back. An email to Arthur was partway helpful, the column came from Westfield cars and was old British standard, to dot the i's, I measured the diameter of the spline, 18.5mm and counted the number of splines, approx 46. The next day I called B&G and with the above info they identified the kit and it arrived the next day, problem solved.

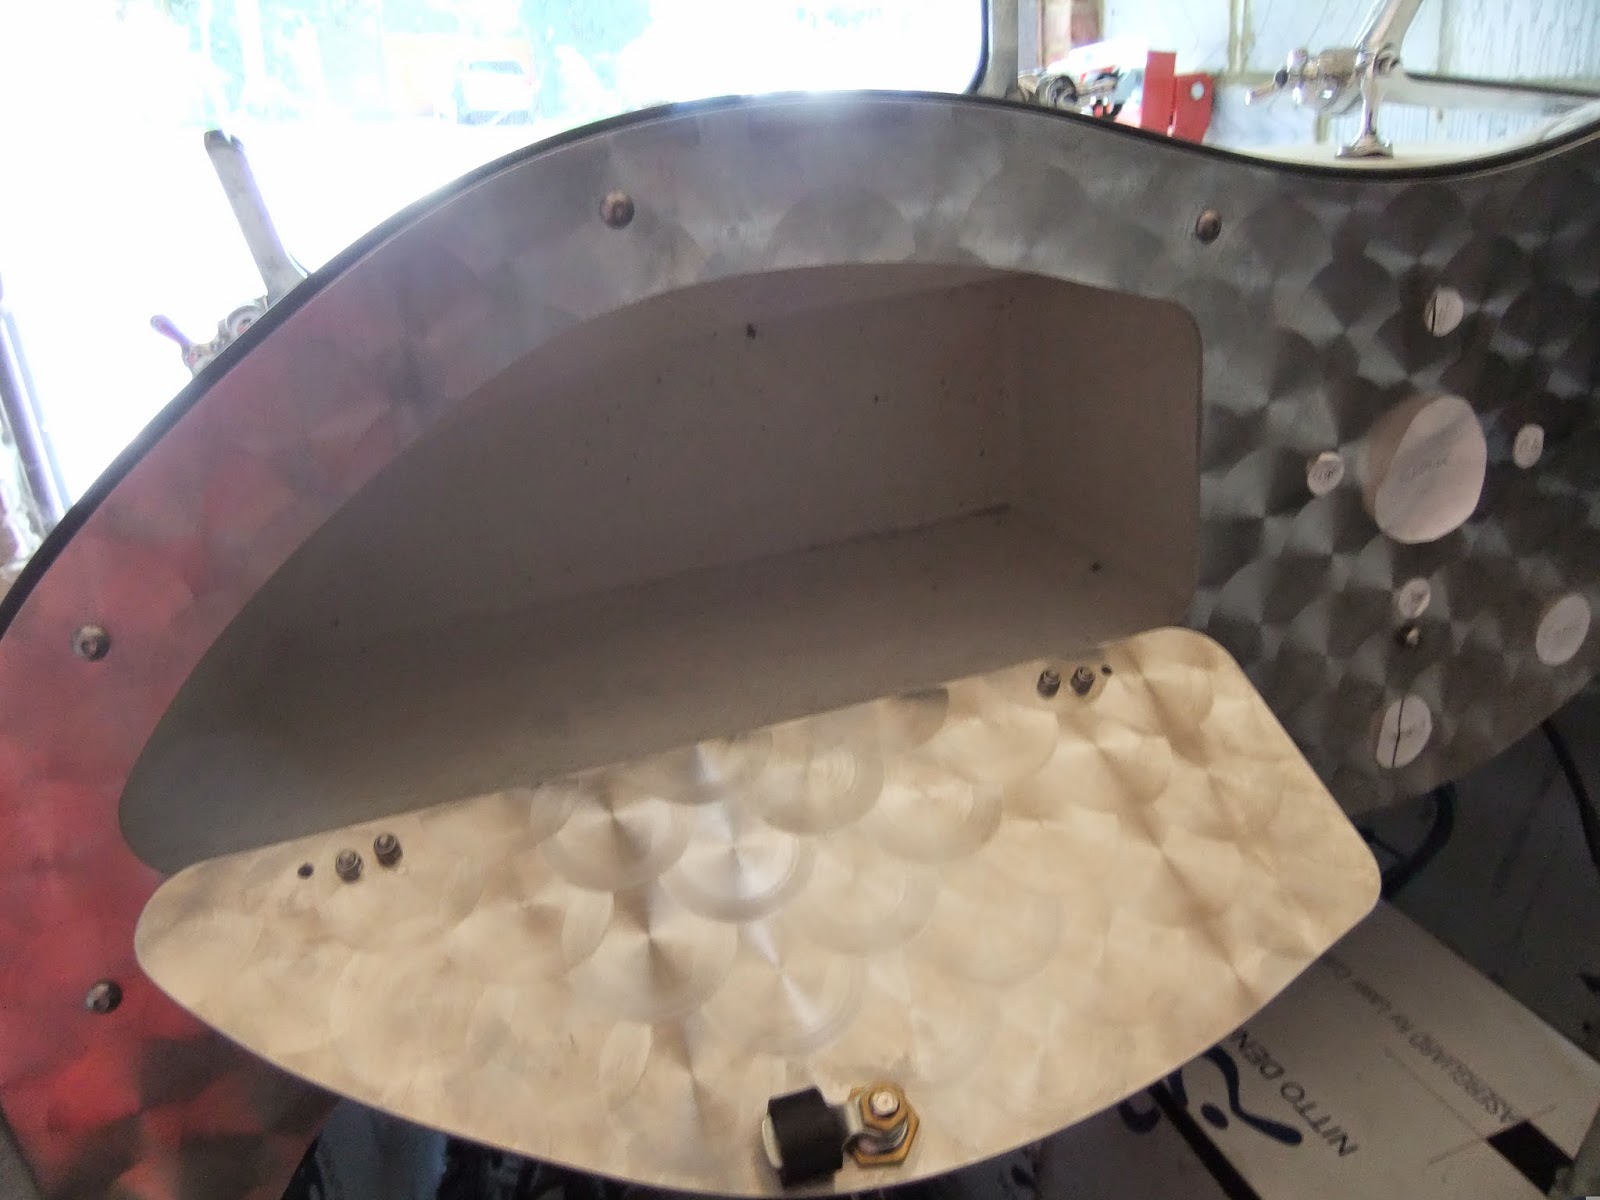
One slight problem remained, the Hub had a protruding ring which was intended for a steering wheel to sit over, but the base plate of the Q/R boss needed to sit flush, I carefully hack sawed off the ring and filed the top smooth, the above photo shows the sawn off ring and the abraded top of the boss, but this will be covered by the plate, so not a problem. The wheel is removed by pulling upwards on small paddles that protrude either side of the boss and simultaneously pushing in a small button, this is a two handed job and definitely cannot be accidentally done whilst driving. the boss is very securely located by a series of large ball bearings which eliminate any sloppiness or backlash.


It all fitted together very easily, although  I haven't actually bolted the hub onto the steering column yet, as it will have to come off to allow the dashboard to be removed. The photo immediately above shows what is left when the wheel is detached and you might well be asking, why I feel the need to remove the steering wheel at all, the reason is that it would be a tight squeeze sliding my long legs under the dash with the wheel in place. Even Morgan now fit detachable steering wheels to their production cars. I am pleased that I decided not to cut any holes in the dash until the wheel was in place, because it is evident, without yet sitting in the car, that some instruments/switches are obstructed by the spokes, so a little adjustment is required before I start cutting and drilling

Thursday 24 July 2014

SPARKS FLYING

The next job on my list was the first of the dreaded ones, 'Sort out the electric box'!!

I started by removing the box and enlarging the two main holes at front and rear, but of course, to get the box out I had to first remove the exhaust pipe and the side panel. I had previously cut the new hole to the rear, but realised that it was a tight squeeze getting the four large bundles of cables through to underside of the dash, especially as I had yet to line the hole with rubber U channel, hence the need to get the electric file out.

That done I fitted riv-nuts to the back and bottom of the box and attached the block of relays and fuses to the back and the engine management box to the bottom. I then realised that before I put the box back into the car, I must first glue and rivet the left foot well bulkhead in place, so what was going to be a ten minute job, turned into a couple of hours. The plus side was that with the very warm weather the adhesive, sealant came out of the cartridge much more willingly, with the result that more overspill had to be cleaned up with copious quantities of white spirit.

The long bundle of cables that would eventually connect up to the rear lights and indicators at the rear of the car, also carried the cables that originally connected to the foot brake warning light switch. Obviously these cables needed to be rerouted to the pedal box under the bonnet,so the plastic sheath had to be split along its length and the required cables seperated out. I needed to splice one of them and my little gas soldering iron and heat shrink sleeving did a secure and neat job. The remaining exposed bundle of cables I rebound with self-amalgamating tape, which when stretched as you pull it tight around the cables, releases a resin and makes a watertight seal. This rebound part of the loom was also passed through the rear opening, beginning its journey to the back of the car


The box was starting to look tidy, but I still had to make the connection with the pedal box and all the other engine connection, although one or two cables were exactly the right length, for instance the wires to the starter and starter solenoid were perfect, just requiring a couple of cable ties to secure, but at least I have made a start and was very pleased with my first soldered connection

Tuesday 15 July 2014

SO DASHING

Three small tubular spacers were cut from a length of ali. tubing, these were so that I could bolt the bottom of the dash board to a chassis cross member, I thought I would need to cut five, but the two outer pre-drilled holes in the dash didn't line up with the cross member, so I bent up a couple of brackets, drilled and inserted an M5 riv-nut into each one.


I marked the chassis rail and then removed the dash so that I could drill and insert the 5 riv-nuts, I bolted the two end brackets to the rail and offered up the dash and fortunately the riv-nuts and holes in the dash lined up.Three 60mm button head bolts went through the dash and tubing and into the nuts although I had to run a a tap through a couple of them to free up the thread. A couple of short bolts went through the two end holes and connected with the nuts that I had inserted into the brackets and all was rigid.


Whilst the dash was off the car I offered up the glove box lid and drilled and fitted the hinges, I ran out of M4 nuts and bolts, but had enough to ensure that it will stay put until I get some more. Arthur had provided me with a GRP moulded glove box, this was squeezed into place under the scuttle. I had been giving some thought as to how to fix this into position, but with the dash in place, it is so snug it can't possible move.


Arthur had told me to buy a column mounted indicator, dip,flash, horn switch for an old BMW Mini, he also provided a replacement backing plate and advised me to carefully remove the larger plate as fitted and the blue self cancelling plastic moulding, fit the new plate and open out the large hole sufficient so that it would go over the steering column and this I did. Unfortunately the pre-drilled hole in the dash was a bit snug. I had previously marked out were it fouled and whilst the dashboard was on the WorkMate I filed out the hole with my, very useful electric file, neat and quick and with the dash back in place I was able to wriggle the switch into position and tighten the clamping screw from behind the dash, mind you I have still got to work out with of the many wires does what.


A couple more weeks to wait for my steering wheel and removable boss, much longer than I had hoped. When Moto-Lita confirmed my order, whilst I was still in France, they quoted four to six weeks and four of those weeks are just about up, so not much longer and then the dash will  have to be removed to drill all those holes.


Friday 11 July 2014

OIL INJECTION

EP 80/90 oil is required for both gearboxes and the final drive and one litre should, just about do them all. I started with the reversing gearbox. I poured a quantity of oil into a clean jar and sucked up 100ml into my new syringe and attached the tube. I slowly pumped it into the box, when the syringe was empty I went back to the jar and pulled another 25ml into the syringe and that also was pushed into the box. Hardly a drop needed to be wiped up after I had tightened the filler bolt. I realised that I could have shortened the tube, but I thought it best to wait until all the boxes had been filled and then I would know exactly how much tubing each one needed.


For the final drive I didn't need to use the tubing as I had access, for the present, from the open rear end of the car. I used two syringe fulls before the oil started to dribble out of the fill hole, that's the only way you can tell when the oil is at the correct level, so a little bit of mopping required.

I have still to drain the main gearbox, but I will leave that until the engine is running and I can warm the oil prior to draining.


Final job for the day was to trim the aluminium dash as it was slightly proud of the scuttle in a few sections. I marked around the top of the scuttle with a marker pen onto he back of the dash. Using the angle grinder I cut back to the black line, the dreadnought file followed by emery paper left a neat edge.


I refitted the dash and inserted the rubber P strip marking where the bolt holes needed to be punched.
That done, dash and strip was bolted up, leaving, I think, a smart finish. Just got to attach the bottom of the dash to a cross member and I am going to use some short lengths of ali tubing as spacers, but not today

Friday 4 July 2014

SPOT ON

Yesterday I got to open my belated birthday present that my lovely wife bought me.

I actually saw just what I wanted whilst on holiday, on Ebay. "Buy It Now" for £80; a Raydyot Pillar Mounted Spot Light. I've been watching these on auctions, but have not been near a computer when bidding came to an end. The good ones sell for around a £100, so this one seemed a bargain. I had it delivered to my step daughter and yesterday I found, to my delight, it is as good a bargain as I had hoped.


It was still in it's original box with fitting instructions and has obviously never been used, the chrome is spotless and the cable untrimmed. These lights used to be fitted to Vauxhall Crestas and Ford Zodiacs, I don't think Morgan three wheelers ever sported them, but I think it will help to give Marjorie a classic vintage look. I hope my Build Buddy, Pete, doesn't mind.as I know he has fitted one to his car, but imitation is the sincerest form of flattery and it it too good a look not to try and copy.


In the post today, arrived the 100ml syringe and tube, again ordered fro Ebay, just the job for getting oil into tucked away filler holes, my wife asked me to get it out of her sight as it brought back uncomfortable memories.


The other job done to day was to trim the mesh grill so that it would clear the rocker breather pipes and trial fit it to the engine cowl. Just a couple more adjustments to be made and I will be able to permanently glue it to the cowl.

Wednesday 2 July 2014

TICKETY BOO

Another two jobs ticked off the job list. The black painted brackets were firmly re-attached to the bottom of the reversing gearbox and the brackets in turn bolted onto the plinth. The ends of both shafts were attached to the box, I used the handle of a hammer passed through the spokes of the rear wheel to stop the shaft turning whist I used an imperial allen key to tighten the bolts (Arthur told me that for some strange reason imperial sized bolts were in use here). I then ensured that the box was set square on the plinth and securely tightened the four bolts.


By turning the prop shaft I could now select all of five gears and most importantly get back to neutral, passing a couple of false neutrals on the way, albeit all rather clonkily, but that's the same on the bike without the engine running. That's really good news, I can now tighten all the gear change linkages. Finally I applied the grease gun to all the nipples on the universal joints and I have also splashed out £1.56 on Ebay for a 100ml syringe, complete with 1m of thin tubing so that I can fill the box with 125ml of gear oil.


Whilst the side panel was removed I transferred the position of the exhaust clamp bolts from inside left to outside right and drilled the first of the six holes through the exposed chassis upright, as I had hoped, much easier doing it this way. The pipe being a easy fit on the header pipe allowed me to turn it to the correct angle and the remaining five holes were soon drilled and the pipe clamped to the chassis.

I will temporarily re-attache the side panel and J strip, just to keep them out of harms way as I don't want to permanently fix them until I am satisfied that I no longer need full access to the cockpit area. A good tidy up of tools and bits and pieces is definitely called for.