Thursday, 26 June 2014

HI HO HI HO IT'S OFF TO WORK WE GO

Okay, Okay! I'm back from our extended holiday in Europe and Marjorie has at last seen the light of day, when I swung open the garage door she would have blinked if she had had her eyes fitted, but her wishbones were spread in welcome. Thanks to Doug W and another Anonymous commentator, for urging me to get on with the project.

So work has begun, rather boringly. Yesterday I finished fixing and trimming the bottom J section aluminium strip to the right side. This time I got all the holes in the right place, except two of them coincided with the large rivets that were used to fix the bottom panel in place and the riv-nuts wouldn't sit flush as they fouled the rivets. I tried pulling them up with the riv-nut setting tool, but that didn't work and I had to drill them out. I then put a drill through the riv-nut hole and drilled of some of the protruding rivet and then all went well.


As on the other side, I cut off the excess with a cutting disc in the angle grinder and trimmed both ends to shape with my power file, finally smoothing the edges with emery paper.

Next job is to fit the exhaust pipe clamps, it should be easier this time as I can take the measurements from the other side, at least I know I won't have to struggle to get the pipe to fit onto the header pipe.

I almost forgot to say, my build buddy Pete, put his MG3 in for it's MVSA test and it passed with flying colours, congratulations and well done Pete.


Friday, 6 June 2014

SHROUDED

Yep, I realise that readers are more interested in my three wheeler build than my old Guzzi, but if it hadn't been my love of the Guzzi engine, I probably wouldn't have even thought about building a three wheeler. Also thanks to Ryan Kealy for his positive comments, soon be posting proper blog, hang on in there.

But final update on the old girl, I did get around to changing the instrument shrouds and on removal of the old ones I saw that the warning light housing which supports the shrouds was badly damaged; this would account for the instruments jiggling about at speed.


Fortunately as well as the shrouds, I brought with me from the donor bike, the warning light housing and after carefully noting which warning light went where, I removed the eight lights from the damaged housing and installed them in the undamaged housing.


Final result is smart shiny shrouds and instruments that will remain readable at speed.

Regarding Marjorie, I have moved things on a bit whilst in France. I had an email from B-G Racing to say that their detachable steering boss is back in stock. I had previously arranged with Moto-Lita that if I sent them the boss they would make a four spoke wheel to fit the six hole boss. B-G have shipped the boss today to be delivered directly to Moto-Lita and hopefully by the time I return to Blighty the wheel and boss will be there ready for me, once fitted I can make final adjustments to where the switches, warning lights and instruments will fit on the dash.

Sunday, 25 May 2014

RE-CYCLED

As regular followers know, I keep my old faithful Guzzi California, out in France and I thought it would be a good idea to bring her, style wise, a little more up to date from parts from my donor Guzzi.

As the weather is a bit mixed, it was good to have something to occupy my hands rather than soaking up the rain. I brought with me from the UK a few bits and bobs and started with the front indicators, removing the rather ugly rectangular one and replacing with smarter bullet ones.


I didn't have to mess about with the wiring, the terminals all matched up, so the next day I set about changing the rear light cluster. The worst part was getting the square rubber grommets back into either end of the rear fender, but again the wiring connector block plugged straight in. So much smarter than the chunky old one.


Whilst the sun did shine I washed and polished the bike until it gleamed, but forgot to take a photo, so the following two shots, taken today under a cloudy sky, don't show it sparkling, but despite her age she still looks good and rides a treat and while the roads are dry, I may go for a ride this afternoon.


However the bikes instrument shrouds are cracked and have lost there sparkle and the ones from the donor bike cleaned up a treat so if the sun don't come out soon, I'll change them over.

Friday, 23 May 2014

DASH IT

Thank you Arthur and Anonymous for your kind comments re. my shiny nose, I can't wait to attach the mesh grill and see it all in position, but that will have to wait until I return from holidaying in the South of France. In the meantime I am catching up with the blog of jobs done before I left the UK, as sadly it is pouring with rain here, however I don't expect any sympathy or concern.

I cut out lots of different sized circles in paper, to represent instruments, switches and warning lights. I stuck them on to my lovely engine turned dash with blue tack, hopefully in about the desired position, but realised when I offered up the dash to the scuttle that the steering column is set to the right of the aperture, this is to allow room for the column mounted indicator switch, I also realised that the right side looked a bit unbalanced.


Next I marked the fixing holes, drilled into the fibre glass scuttle and fastened the M5 riv-nuts in place and bolted the dashboard to the scuttle. I then did a bit of re-organising of my bits of paper and I think I've got it about right now, but I won't be drilling any holes until I have a steering wheel in place


Last job before I went packed up my tools was to cut and fit the stainless steel braid breather pipes to the rocker cover and gearbox. I still have the big engine breather to consider, but eventually they will terminate in a catch tank mounted on the front of the right bulkhead.


The really final job was to connect up the front break hoses. There was a tip on the QUEST TV channel where a guy is building a Westfield and he said don't tighten and bleed the brakes until the wheels and fenders are in place, as you may well have to adjust the lines to prevent them touching anything on lock to lock, a tip I will take.

Tuesday, 20 May 2014

A TRIP TO CHROMER

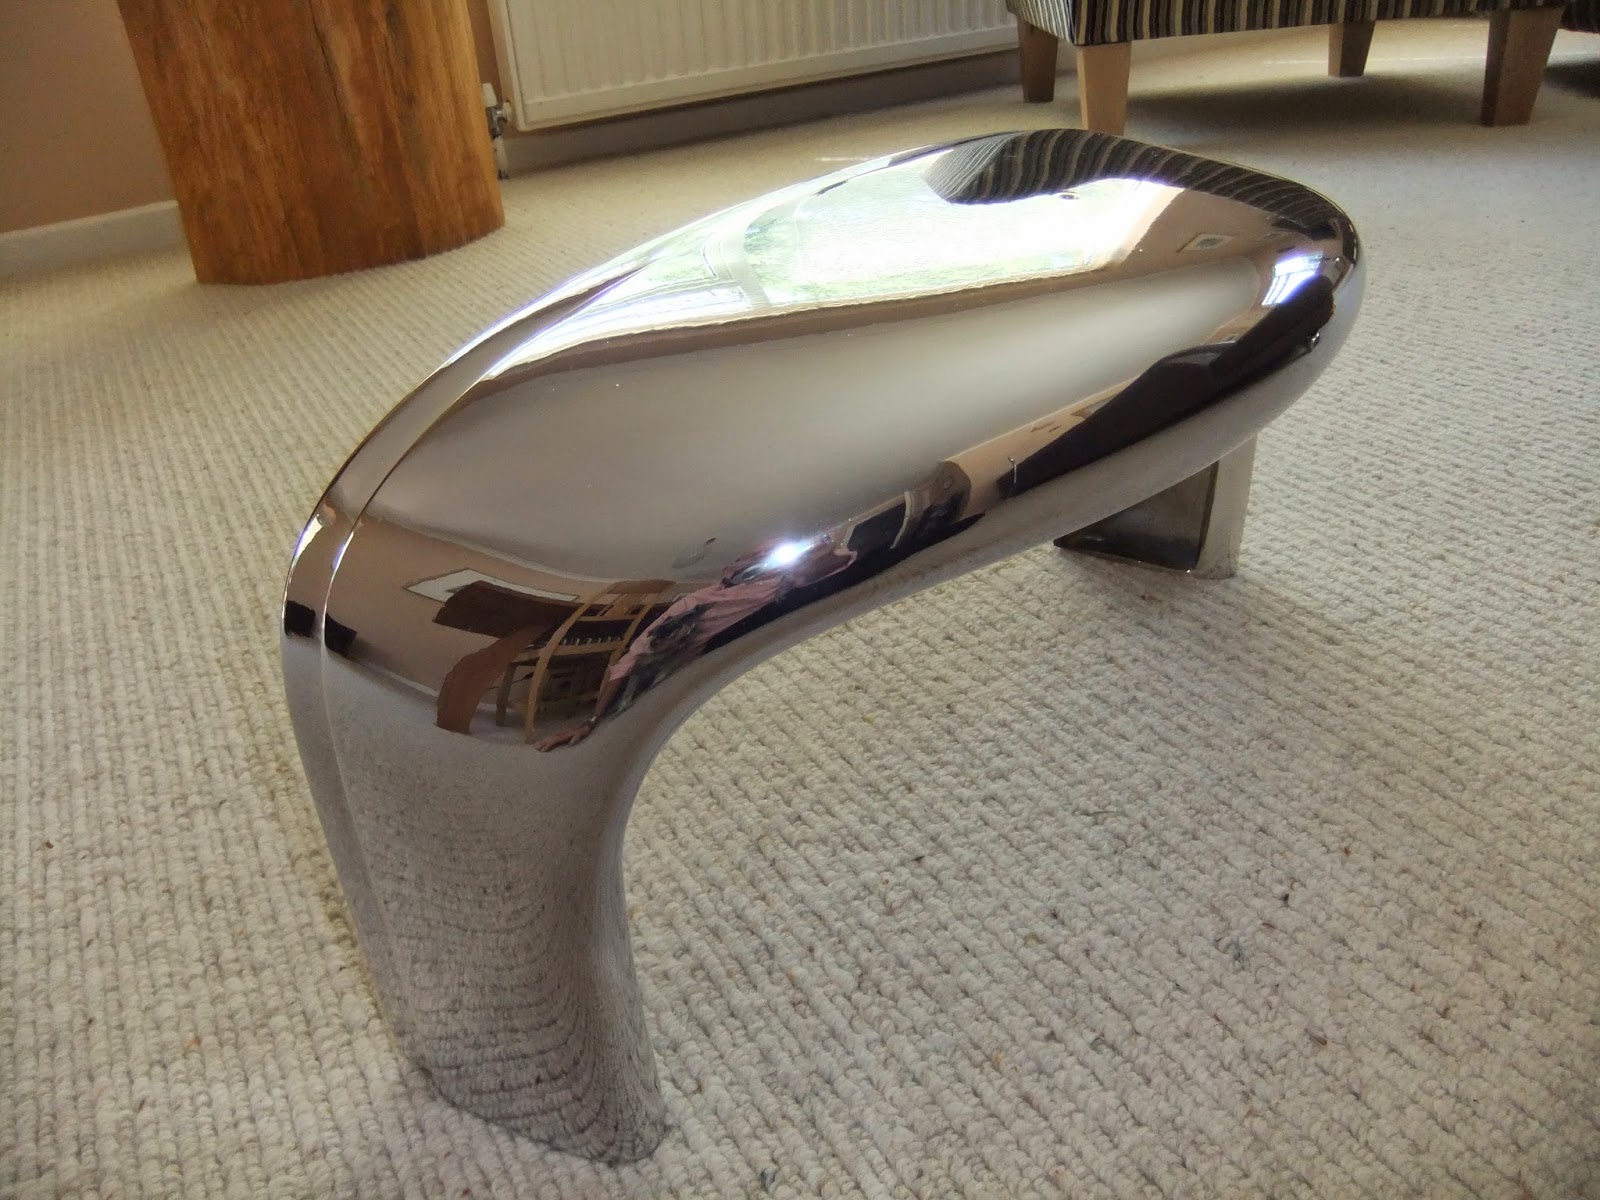
Well not the one in Norfolk, obviously, wrong spelling, but the one in Basildon. I had a phone call last week from Chrome Spray asking if I was in a hurry for my nose cone as they were not happy with the finish. I replied that if they weren't happy then I probably wouldn't be either. Apparantly the base coat had a very slight orange peel which didn't show until the chrome and lacquer had been applied.


A week later I collected it and it looked perfect. As Simon of Chrome Spray said 'their reputation depends on the finished article looking as if it had been chrome plated, not sprayed' and they had rubbed it right back and started again. Well done guys, have a look at their web sight, there is a fascinating video clip of the spraying process. http://www.chromespray.co.uk. All safely bubble wrapped and stored until I am ready to permanently refit the nose to the car.


The other small chrome parts that arrived in the post, were the pair of hinges for the front glove box lid. These took a fair bit of Ebay searching, but realising that there were called butterfly hinges helped to narrow down the search. Fitting those has joined the long list of jobs waiting to be done.

Sunday, 4 May 2014

EXHAUST RING X 2

I couldn't put it off any longer, the header pipe and exhaust ring for the right side of the car continue to grin at me, reminding me of the hard amount of filing that was needed to fit the other ring to the car's left side.

I clamped the ring in the vice and started filing, turning it around and around, I then used the flap wheel which polished up the high spots so I knew where to apply the file. When I offered up the ring to the pipe it slipped up to the first bend, but no further.


More filing and flapping and it went around the first bend and on and up around the final bend and it was there. Hooray! I fitted the pipe to the head, adjusted the angle and tightened the domed nuts, now the front end looks balanced.


I decided reluctantly to offer up the side pipe to the header pipe, remembering what a struggle the other side had been, but to my amazement it slipped right on, all the way onto the header pipe. Wow! That's a result.

Next job is to fit the side panel and the bottom J section edging strip, I am hoping that that goes as well as it did on the left side, fingers crossed.


Friday, 2 May 2014

MORE EXHAUSTING WORK

Westfield Fasteners did it again and the bolts ordered turned up within 24 hours, so today I decided to fit the side pipe. The clamps are really something, laser cut from solid billet, they are almost sculptural and although it only required six holes to be drilled to fit them it took an inordinate long time.


As I had decided to bolt the clamps through two of the chassis upright rails I had to measure very carefully to ensure that when I drilled from the outside the pilot holes would emerge more or less centrally in the upright. The rear clamp was to be fitted first and the pilot holes emerged just as planned, I opened them up and bolted the pipe and clamp to the chassis rail. When I checked out the alignment ready to fit the front clamp I was shocked to see that the pipe was no longer parallel to the bottom edge of the car, fortunately I quickly realised that the pipe had turned slightly whilst I clamped it. Simple solution; release the clamp, twist the pipe until it was level and re-clamp it, I marked the position for the front clamp, again released and dropped the pipe out off the way and drilled.


Fortune smiled again and the pilot holes came out just where I wanted them to. I used big penny washers to spread the load and the job was done, just got to trim off the excess bolt protruding through the central lock-nut.