Wednesday, 30 April 2014

ALL GEARED UP

Now that the left side panel and trim were fitted, albeit temporarily, I decided to attach the stainless side pipe to the header pipe, easier said than done!

I first cut a long slot on what would be the the inside of the wider part that should slip over the end of the header pipe, I filed and sanded that end and kept on trial fitting the pipe, Gradually the side pipe went on almost all of the way and then it stuck fast with a quarter of an inch still to go and completely at the wrong angle. I tried heat and ice to loosen the grip, but eventually it was a liberal dose of WD40 and a lot of wriggling that got it to come free. More vigorous filing and use of the flap wheel and at last it went on all the way and I was able to twist it to the right angle, exhausting work and again my hands started to cramp up, but it's a great feeling when you can walk away with the jod done.


To pull the side pipe up and into the correct position it will initially be under tension, so I decided not to attache the two clamp just to the thin aluminium side panel, but rather bolted through, the conveniently placed, internal chassis uprights, but I need longer bolts for this and I am now awaiting for Westfield Fasteners to deliver.


When I picked up the gear linkage from Arthur's I took loads of photos of one that he had set up on a new chassis, glad I did, it looked tres complicated. It all connected together easily enough, but without the photos it would have taken some puzzling. Just got to get the adjustment done and cut off the head of the long bolt that is the gear lever, thread it and fit an appropriate gear knob.

LOST AND FOUND

Another trip down to Ditchling last week brought forth my gear change linkage and stub axles, these were not ready last week as the first was still being powder coated and the axles were having the hole for the split pin drilled.


I had a big worry when I visited Arthur; when I had came to assemble the right side hub, I couldn't find the remaining brake caliper bracket, Arthur assured me that he had supplied me with a pair and it wasn't until I had a grand tidy up of the garage on Saturday morning and I started to break down boxes, I found it lurking underneath a folded in lid flap, Phew! I was so relieved.


I'm not going to permanently fit the stub axles until I am ready to fit the wheels and lift it off the trestles and this won't be until almost every aspect of the build is complete as it it so much more comfortable for my old bones and muscles to work at this height. The photo shows the axle and the freshly, black painted upright and as you can see, to leave the axle in place would seriously compromise the safety of the crown jewels as I move around the limited space of my garage.


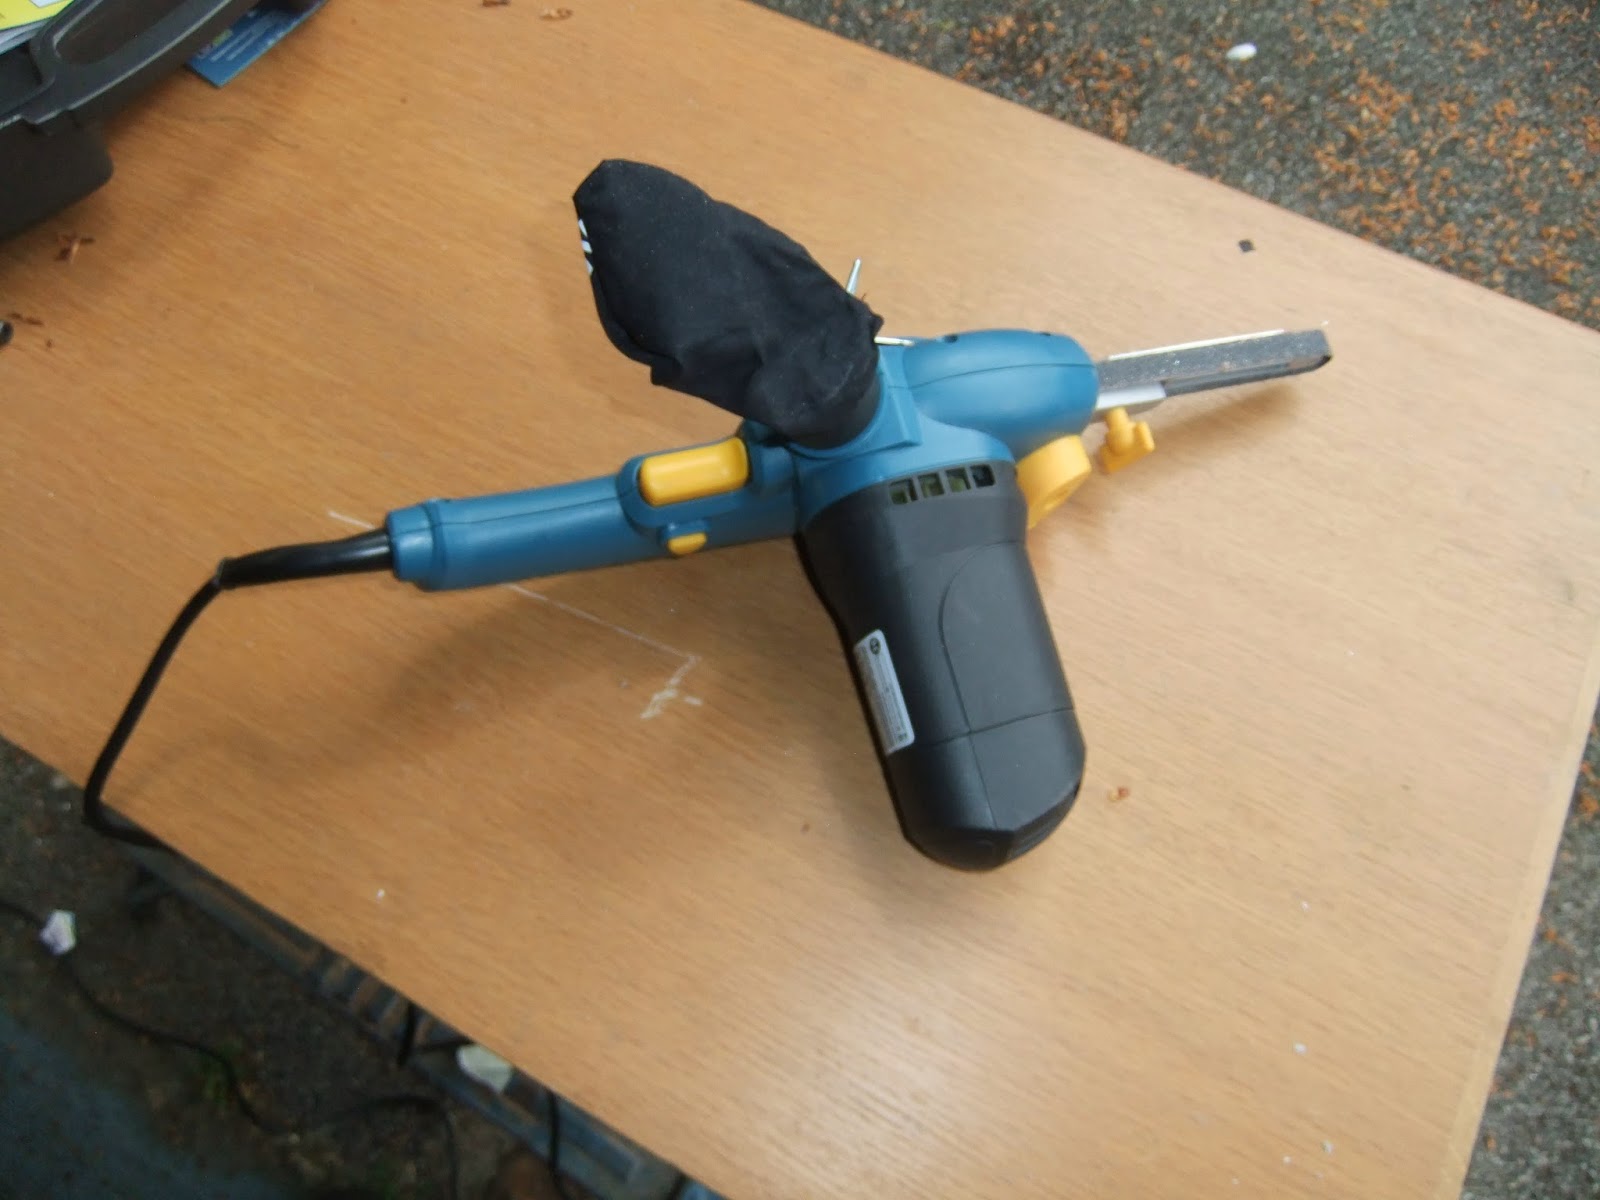
 I did finish off fitting and trimming the ends of the J section to the bottom of the left side. My new, Aldi,belt sander worked well, after I first removed the majority of the surplus metal with cut off and grinding discs in the angle grinder, I also filed out a section in the trim so that it would neatly fit over the front panel flange. the trim still need to be smoothed down and polished, but I won't do that until the car is all but finished as it will surely collect more scratches in the meantime.


The very last hole, I sadly drilled in the wrong place, still mistakes do happen. Now I have to think how best to fill it, maybe I will just cut the head of a screw and glue the head in place and pretend that it needed the additional strength to hold the end of the trim in place, what do you think?

Thursday, 24 April 2014

A TOPPING DAY

I laid out all the remaining suspension parts for the left side. First the upright or hub carrier with it's tophats, these are the tapered insets that sit in the top and bottom of the upright and into which the tapered pin from the top and bottom ball joints locate, They are called tophats because that is what they resemble, very logical is the naming of car parts, wishbones also look just like wishbones and there are many more examples.


In the photo the steering arm is next, this joins the steering rack to the suspension, then follows the very lightweight brake calliper bracket, which connects the four pot brake calliper to the upright and finally the brake disc which will eventually be screwed to the inside hub of the spoked wheel.

I rummaged through a bag of assorted nut, bolts, washers and spacers and gradually worked out want went where. When it was all loosely  bolted in place I roughly eyeballed and adjusted the camber and toein, but this can only be done properly when the wheels are on with a spirit level and straight lengths of timber, even then I will probably get it down to my local tyre fitter for proper adjustment.


I only loosely bolted up, as I then removed the uprights to give them a coat of black paint, but before that I decided to fit the left side exhaust header pipe. I had realised that my recently chromed exhaust ring would not slide over the beautiful new pipe so I set about it with a round file and flap wheel in the electric drill and finally the ring slipped over the pipe, but not around the bends, more vigorous filing and flap wheeling and it went all the way.


Just got to do the other side now, not looking forward to that as I got cramp in the fingers of my right hand from all the filing, got to be done though.

The missing bonnet is because the engine cowling has been left with Chrome Sprayers in Basildon, for, what else, to be sprayed chrome, it will be ready in a fortnight.

Saturday, 19 April 2014

PANDORAS BOX OF BITS AND OTHER PARTS

Well! this Good Friday lived up to it's name, a trip to Ditchling resulted in a pile of parts. Arthur also answered several queries and having collected the beautiful chromed wishbones on Thursday I couldn't wait for Saturday morning to arrive and get started on sorting it all out.


First thing was to lay out all the bits to photograph and then store safely way those bits that I shan't be working with straight away, like the splendid engine turned dashboard.

Despite my best intention to finish several other little jobs, I couldn't resist pressing the rubber bushes into the end of the wishbones. I protected the chrome with a thickly folded dust sheet before I clamped the wishbones down and using washing up liquid as a lubricant, I tightening a nut onto a bolt which pressed the bush home, for the last little bit I put a large socket over one end which allowed an equal amount of bush to protrude from each end of the tubes.


Top and bottom wishbones were easily bolted onto the chassis after I removed some powder coating from the bolt holes. It was a good thing I took plenty of photos of Arthur's demonstrator to ensure I got the spacers in the correct position. I had a little panic wondering how I was going to compress the coil springs onto the shock absorbers, when I realised that the shocks weren't fully extended, then there was plenty of space to fit the top spring support over the coil spring, silly me.


Top photo shows the steering track rod extender screwed onto the track rod, well where else would it go? Photo also shows the top wishbone ball joint in place. Now I need to work out how the hub carrier and the remaining ball joints all fit together. In the meantime it's a trip to Essex to take the GRP engine cowling to be chrome sprayed, it's really starting to look good.

Wednesday, 16 April 2014

TRIM TO FIT

When I was last at Arthur's down at Ditchling, collecting my wishbones, I noticed that the bottom edge of his demonstrator had been neatly trimmed with a J section aluminium moulding. Not only did it look good but it covered the sharp bottom edge of the side panels. Whilst waiting for the wishbones to be chromed I popped down to Blackburns in Edenbridge, Kent and purchased a couple of 4 mtr lengths. I only needed 3 mtr a side for Marjorie and they were good enough to cut of the extra mtr. which allowed the remaining 3mtr to fit neatly inside my car with the tailgate closed.

Oh by the way I have decided to call my project Marjorie Morgan, I feel that has a nice ring to it, reminiscent of Marilyn Monroe

I wanted the trim to be detachable so that when eventually Marjorie goes for spraying the strip can be removed and when replaced the polished strip will sit well against the red paint. With this in mind I drilled out every other rivet hole along the bottom chassis rail and fitted 5mm counter sunk riv-nuts. 5mm counter sunk bolts will attach the trim to the side, covering the rivet heads that have previously fastened the side panel to the chassis,


The top photo shows the underside and how the J part wraps around the bottom edge making it smooth and safe. I am only drilling and fitting 5 riv-nuts at a time allowing me to gradually pull the moulding to the curve of the car. The front and rear end of the trim still needs to cut to shape and when done I will start on the other side which should take considerable less time.

I have also done some head scratching re, the wiring loom, donated from the Moto Guzzi. I drilled and cut another opening to the rear of the electric box which has allowed me to pass the four large connectors through to the underside of the scuttle these used to connect to the handle bar controls and warning lights etc, I now have plenty of cable to eventually connect to the dash switches and instruments and the first photo below, shows those cables hanging over the bottom rail which is just behind where the new dash board panel will be located.


With these cables out of the way there is room in the box, to bolt to the base, the engine management unit and to the rear wall, the existing block of relays and fuses. Yep I know, other sharp eyes maybe concerned that my new opening needs to be gromitted. I am awaiting a delivery from Car Builders Solutions, which will contain, amongst lots of exciting bits and bobs, the wherewithal to do just that.

The other really good news is that my wishbones will be ready for collection from the chromers this Thursday and pretty much everything else that I am waiting for, will be ready to collect from Arthur this Good Friday. I shan't know where to start first!

Saturday, 5 April 2014

WISHES DO COME TRUE

At last my long awaited wishbones are to hand. These very appropriately named bits of accurately welded oval metal tubes are used to connect the wheels, brakes and suspension units to the front of the chassis. They are pivoted on bushes at the chassis end, enabling the front wheels to move up and down.


My intention is to have them chromed and the above picture shows them in their natural state, before I take them along with the exhaust manifold rings to my local electro-platers for chroming, by the time they are ready for collection I should be in possession of the rest of the suspension parts and can begin assembly, then my project will truly begin to look more like a car.